
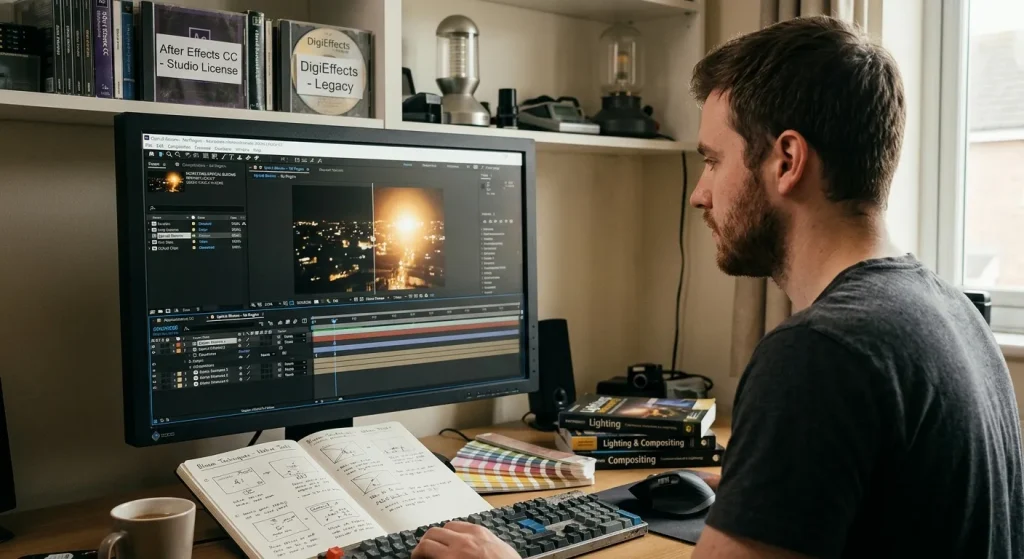
In the golden era of digital post-production, third-party plugin suites like DigiEffects AurorA and early glow generators were essential for softening digital camera sensors. Early high-definition and digital video cameras produced ultra-sharp, clinical images with harsh highlight roll-off. Plugins provided the atmospheric halation, optical diffusion, and volumetric light leaks needed to emulate real anamorphic cinema glass and physical film stock.
Because legacy 32-bit visual effects plugins no longer run on modern 64-bit operating systems or Apple Silicon hardware, editors and compositors need reliable, native techniques.
Modern host applications provide sophisticated floating-point color pipelines and flexible blend modes that let you build hyper-realistic, optical-grade light blooms natively in Adobe After Effects and Blackmagic Design DaVinci Resolve.
The Physics of Optical Bloom: What Legacy Plugins Got Right
To recreate an authentic optical glow, you cannot simply apply a standard Gaussian blur to an image. Physical lens bloom and film halation occur due to specific optical and chemical phenomena:
- Highlight Thresholding: Light only blooms when specular highlights exceed a specific luminance threshold (e.g., bright sky, direct light sources, reflections).
- Inverse Square Falloff: Real optical diffusion drops off non-linearly. The core of the light source remains intensely bright, while the outer haze tapers off smoothly.
- Chromatic Dispersion (Color Shift): As light scatters through internal glass elements or film emulsion, warm frequencies (reds and oranges) bleed outward further than cool frequencies.
| Light Dispersion Property | Physical Hardware Phenomenon | Modern After Effects Method | Modern DaVinci Resolve Method |
| Highlight Extraction | Specular highlight clipping & lens flares | Extract / Curves + Luma Matte | Qualifier Node / Luma Keyer |
| Multi-Tiered Falloff | Internal glass scattering & diffusion layers | Stacked Compound Gaussian Blurs | Multi-Scale ResolveFX Glow / Blur Pyramid |
| Film Halation | Light reflecting off the back of film base | Shift Channels + Red Channel Blur | ResolveFX Halation / Chromatic Aberration |
| Anamorphic Streak | Cylindrical lens element reflections | Directional Blur (Horizontal) + Tint | Anamorphic Spread FX / Directional Blur |
Method 1: Building a Multi-Stage Optical Bloom in After Effects
To build an organic, physical light bloom in After Effects without third-party plugins, use an exponential blur hierarchy across dedicated adjustment layers.
Step 1: Isolate the Specular Highlights
- Duplicate your source video layer or create a new Adjustment Layer over your main footage and name it
Highlight_Pass. - Apply the Extract effect (or Curves) to
Highlight_Pass. - Drag the Black Point up until only the brightest light sources (sun, streetlights, bright white reflections) remain visible against a black background.
- Set the Layer Blend Mode of
Highlight_Passto Screen or Add.
Step 2: Build the Exponential Blur Hierarchy
Instead of applying one heavy blur, chain multiple Fast Box Blur (or Gaussian Blur) effects together to simulate optical light decay:
- Layer 1 (Core Glow): Set Blur Radius to 10 px. This maintains the crisp shape around the light source.
- Layer 2 (Mid-Range Diffusion): Duplicate the effect or layer, setting Blur Radius to 50 px with an opacity of 60%. This simulates the inner haze of lens glass.
- Layer 3 (Atmospheric Atmosphere): Duplicate once more, setting Blur Radius to 250 px with an opacity of 25%. This covers the broader scene with subtle ambient dispersion.
Step 3: Add Anamorphic Flare Streaks (Optional)
- Add an adjustment layer named
Anamorphic_Streak. - Apply Extract to keep only the absolute brightest highlights.
- Apply Directional Blur. Set the Direction to
90°(horizontal) and the Blur Length to300+ px. - Apply Color Balance (HLS) or Tint to colorize the horizontal streak a deep blue or warm amber, matching classic cinema lenses.
Method 2: Creating Organic Diffusion & Halation in DaVinci Resolve
DaVinci Resolve offers dedicated tools for handling high-dynamic-range highlights, whether you use the Studio version or the free node-based Fusion tab.
Option A: The Color Page Node Tree (ResolveFX & Native Nodes)
- Node 1 (Luma Key): On the Color Page, create a parallel node structure. On the top branch, open the Qualifier tab, select Luminance, and isolate the top 15% brightest highlights.
- Node 2 (Multi-Scale Blur): Add a Blur node to the isolated highlights. Under the Blur panel, unlink the H/V ratio slightly if you want subtle anamorphic distortion, or increase the Radius significantly.
- Node 3 (Halation / Red Bleed): Create another node, isolate the highlights, and go to the RGB Mixer. Increase the Red output while decreasing Green and Blue slightly. Apply a soft Gaussian Blur to this node and blend it back over the main image using the Soft Light or Screen blend mode to replicate red film halation.
Option B: Fusion Page Custom Bloom Network
For a completely procedural, floating-point bloom inside the Fusion page:
- Connect your
MediaIn1to a LumaKeyer node to isolate the bright highlights. - Pipe the output of the LumaKeyer into a Blur node chain set to Exponential decay.
- Add a ColorCorrector node right after the blur to warm up the outer edges of the scattered light.
- Merge the final glow pass back over
MediaIn1using a Merge Node set to Apply Mode: Screen.
Performance & Quality: Legacy Plugins vs. Native Modern Pipelines
Reconstructing light blooms natively yields substantial benefits in project longevity, color accuracy, and overall rendering speeds:
| Feature Dimension | Legacy Light Plugins (32-Bit Era) | Native Modern Workflows (AE / Resolve) |
| Color Processing | 8-bit / 16-bit clamped highlight clipping | 32-bit floating-point HDR wide-gamut processing |
| Render Engine | CPU-bound, single-core rendering | Fully GPU-accelerated (Metal, CUDA, Vulkan) |
| Artifacting | Harsh banding on soft color gradients | Smooth, 32-bit linear gradient falloff |
| Archival Safety | High risk of broken projects upon plugin obsolescence | 100% native safety; future-proof project files |
| Customizability | Restricted to vendor slider limits | Unlimited node branching and custom compositing |
Summary
Legacy plugins made light blooms fast and easy, but modern floating-point processing engines give you far greater physical realism without vendor lock-in. By extracting highlight passes, stacking exponential blurs, and leveraging native color manipulation tools, you can achieve filmic, optical-grade blooms that run reliably across modern host applications.