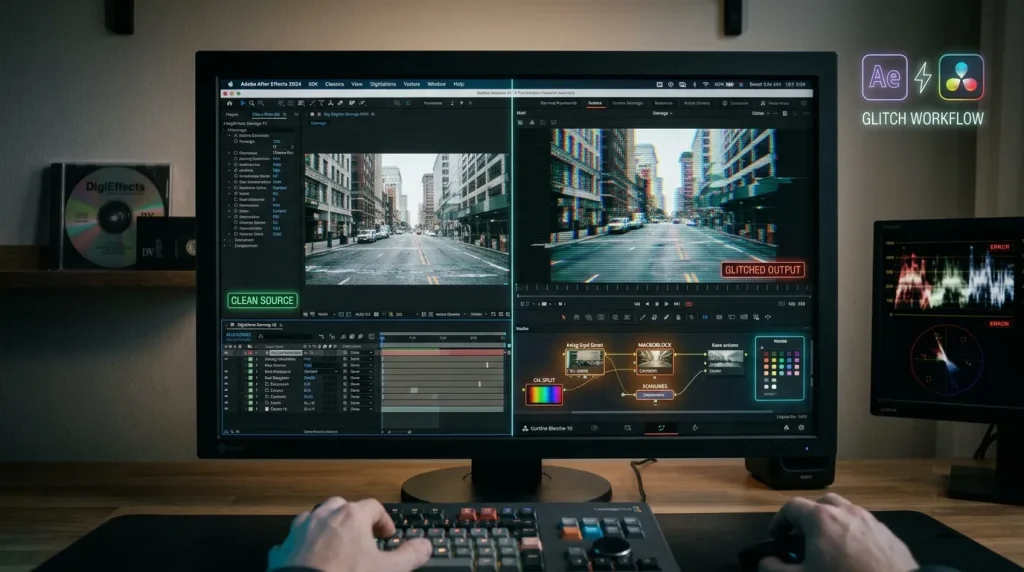
During the mini-DV and early HD broadcast eras, DigiEffects Damage was the definitive tool for digital degradation. Tools like Artifact, Interlaced, Overexposed, and Skew defined the distorted visual language of music videos, sci-fi films, and action promos throughout the 2000s.
However, because legacy DigiEffects plugins rely on older 32-bit architecture, they cannot run natively on modern 64-bit systems, Apple Silicon hardware, or current versions of host applications like Adobe After Effects and Blackmagic Design DaVinci Resolve.
Fortunately, modern video software includes powerful native tools, node-based compositing, and GPU acceleration that allow you to replicate the classic Damage look with far greater control and resolution independence. Here is a comprehensive step-by-step guide to recreating these iconic glitch effects in today’s leading post-production environments.
The Anomaly Breakdown: What Made “Damage” Unique?
To recreate Damage accurately, you need to understand its primary mechanical components. The suite did not just apply a generic random noise filter; it simulated specific physical and signal-based hardware failures:
| Damage Module | Hardware / Signal Phenomenon Simulated | Modern After Effects Equivalent | Modern DaVinci Resolve Equivalent |
| Artifact | JPEG/MPEG compression blocks & color dropouts | Fractal Noise + Mosaic + Unsharp Mask | Analog Damage + Digital Damage FX |
| Skew | Line-sync errors & horizontal raster tearing | Displacement Map + Procedural Noise | Directional Blur + Scanlines / Displace Node |
| Interlaced | Field mismatches & analog cathode-ray tearing | Venetian Blinds + Shift Channels | Scanlines FX + Video Field Separation |
| Overexposed | Film gate burn & CCD sensor light bloat | Exposure + Minimax + Glow | Glow FX + Solarize / Film Damage FX |
Method 1: Recreating Damage in Modern Adobe After Effects
You can recreate the complete Damage suite inside native After Effects using procedural adjustment layers and standard built-in effects.
[Base Footage Layer]
  │
  ├──► [Adjustment Layer 1: Skew & Tearing]
  │      • Fractal Noise (Block Noise, High Contrast)
  │      • Displacement Map (Horizontal Shift)
  │
  ├──► [Adjustment Layer 2: JPEG/MPEG Compression Artifacts]
  │      • Mosaic (Blocky pixelation)
  │      • Posterize Color / Shift Channels
  │
  └──► [Adjustment Layer 3: Scanlines & Signal Degradation]
         • Venetian Blinds (50% Width, 90° Direction)
         • Colorama / Exposure (Signal Clipping)
Step 1: Building Horizontal Line Skewing (Damage Skew)
- Create a new Solid layer ($1920 \times 1080$) and name it
Map_Noise. Pre-compose this layer, checking “Move all attributes into the new composition.” - Inside the pre-comp, apply Fractal Noise. Set Noise Type to Block. Increase Contrast to roughly 400 and lower Scale Width to around 10 while setting Scale Height to 3000. This creates thin, horizontal black-and-white strips.
- Apply the expression
time * 2000to the Evolution parameter so the bars slice violently across the screen. - Return to your main comp, turn off visibility for the
Map_Noiselayer, and add an Adjustment Layer over your footage namedGlitch_Displacement. - Apply the Displacement Map effect to
Glitch_Displacement. Set the Displacement Map Layer toMap_Noise. - Set Max Horizontal Displacement to 40 (leave Vertical Displacement at 0). Set source to Effects & Masks. Your footage will now slice horizontally along blocky procedural lines.
Step 2: Generating Compression Artifacts (Damage Artifact)
- On a new Adjustment Layer named
Compression_Blocks, apply the Mosaic effect. - Set Horizontal Blocks to 240 and Vertical Blocks to 135 (maintaining a 16:9 ratio). This gives your image a distinct low-bitrate blocky grid.
- Apply Unsharp Mask with an Amount of 200 and Radius of 1.0 to exaggerate the grid boundaries of the blocks, mimicking low-quality web video encoding from the mid-2000s.
- Set the adjustment layer’s opacity to animate rapidly between
0%and80%using awiggle(12, 50)expression on the Opacity parameter to ensure the compression blocks appear dynamically.
Method 2: Recreating Damage in DaVinci Resolve (Studio & Fusion)
DaVinci Resolve Studio includes native ResolveFX tools that can simulate legacy analog and digital video degradation directly on the Color Page or inside the Fusion Page.
Option A: Color Page Node Pipeline (ResolveFX)
If you are using DaVinci Resolve Studio, you can chain built-in ResolveFX nodes to mirror the Damage workflow directly in the Color tab.
- Digital Damage Node: Add a serial node on the Color Page and search for Digital Damage in the OpenFX panel.
- Configure Compression: Under the Digital Damage settings, expand MPEG Artifacts. Increase Pixelation and Buffer Corruption. This recreates the blocky color-bleeding characteristics of Damage Artifact.
- Configure Signal Tearing: Expand Analog Tearing and adjust Horizontal Hold and Line Skew. This mirrors Damage Skew.
- Scanlines Integration: Add a second serial node, apply Scanlines, and set the Line Frequency to match your project timeline resolution. Lower the opacity blend to keep the effect subtle.
Option B: Fusion Page Custom Node Network (Free & Studio)
For total procedural control over glitch mechanics in either the Free or Studio version of Resolve, build a custom node pipeline inside the Fusion page:
[MediaIn1] ──► [Displace Node] ──► [FastNoise Node (Foreground)] ──► [MediaOut1]
                     ▲
                     │
              [Posterize Node]
- Select your clip and open the Fusion Page.
- Press
Shift + Spaceand add a FastNoise node. - In the Inspector for FastNoise, set X Scale to
20.0and Y Scale to0.1to stretch the noise horizontally. Turn up Seethe Rate to1.5for dynamic, keyframeless animation. - Add a Displace node between
MediaIn1andMediaOut1. Connect the output ofFastNoiseinto the foreground (green) input of theDisplacenode. - In the
DisplaceInspector, set Type to X Only and adjust the X Refraction slider to force horizontal vector shearing across your footage.
Architectural Comparison: Legacy 32-Bit Plugins vs. Modern Workflows
Recreating these effects procedurally natively inside modern host software provides significant technical benefits over running legacy plugin binaries:
| Feature Dimension | Legacy DigiEffects Damage (CS6 / 32-Bit) | Modern Native Recreations (AE / Resolve) |
| Resolution Limit | Hard-capped at 1080p / 2K max | Resolution-independent (4K, 8K, Vector) |
| Color Depth | 8-bit / 16-bit integer rendering | 32-bit floating-point color processing |
| Hardware Acceleration | CPU single-threaded (Slow renders) | Full GPU Acceleration (Metal, CUDA, OpenCL) |
| Customizability | Fixed parametric sliders | Unlimited custom nodes, expressions, & blending |
| OS Support | Legacy Windows XP/7 & Mac OS X PowerPC | Fully native on Windows 11 & macOS Apple Silicon |
Summary
While DigiEffects Damage defined the aesthetic of early digital video breakdown, you do not need obsolete software architectures to achieve its iconic look today. By utilizing native displacement mapping, procedural noise engines, and modern GPU-accelerated ResolveFX, you can recreate the full spectrum of Damage glitches with higher fidelity, greater control, and native reliability on modern production systems.